
Gallery Walls Without the Guesswork

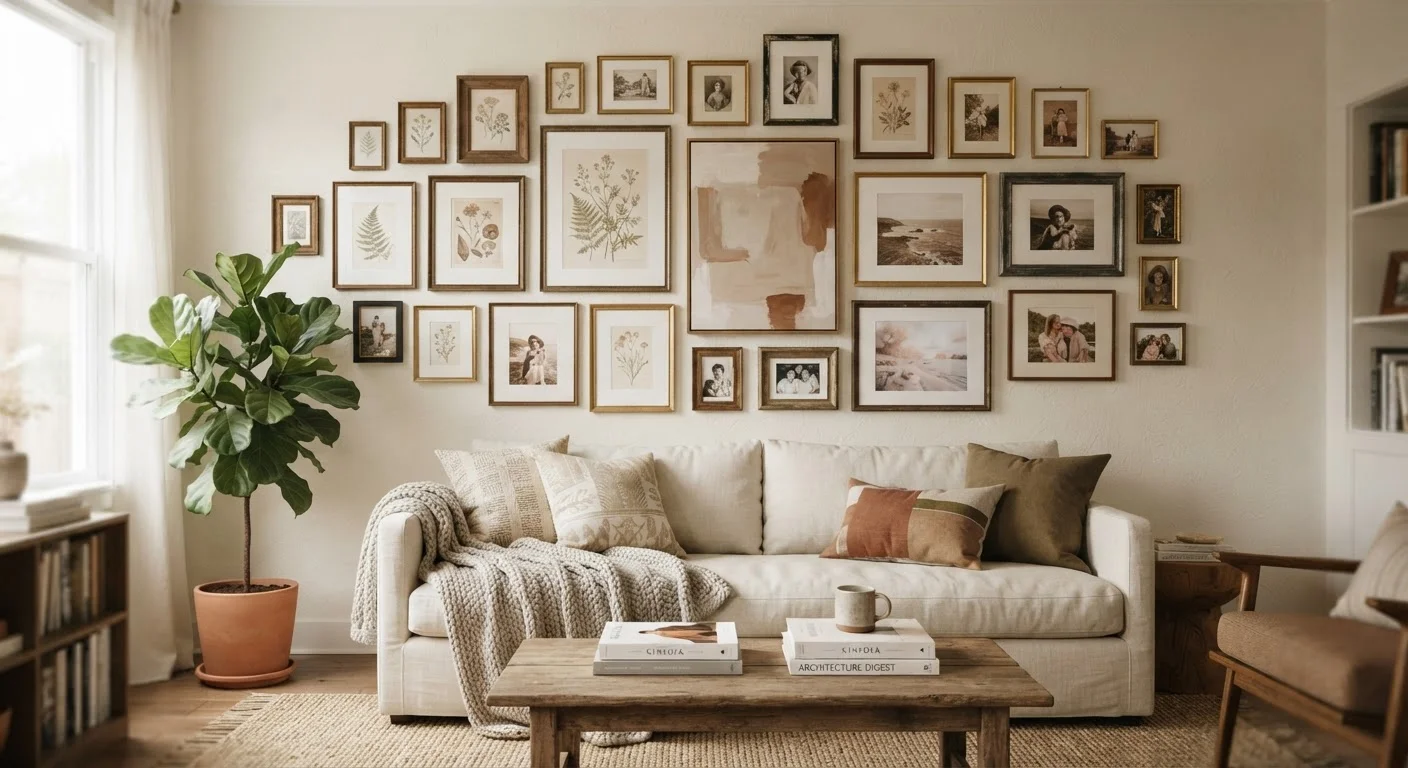
Photo: TotemBuzz.com | Your Lifestyle Companion editorial
Key Takeaways
- Plan your layout on the floor before making a single hole in the wall.
- A unifying element — color, frame finish, or theme — keeps a mixed collection cohesive.
- Eye level for most artwork is roughly 57–60 inches from floor to the center of the piece.
- Paper templates taped to the wall let you test spacing before committing to nails.
- The right wall fastener matters: know your wall material before you hang anything heavy.
Why Planning Comes Before Hammering
Gallery walls look effortlessly curated, but that casualness is almost always the result of deliberate planning. Skip the prep work and you'll likely end up with a wall full of misaligned holes and frames that feel random rather than composed. A little time spent arranging things on paper — or on the floor — saves a lot of spackle later. If you want to avoid the most common beginner pitfalls, it's worth reviewing how decorating myths can quietly undermine your efforts before you start.
A gallery wall also works best when it has a clear role in the room. Think of it as a focal point that anchors the space — a reason for the eye to land and linger. Knowing its purpose helps you choose the right wall, the right scale, and the right mix of pieces.
What you will need
Gathering Your Materials
You don't need specialty tools to hang a gallery wall successfully, but having the right basics on hand will make every step smoother. Gather everything before you start so you're not stopping mid-project to search for a pencil.
Measuring tape
Measure the wall space and calculate spacing between frames accurately.
Painter's tape
Mark frame boundaries and test layout directly on the wall without damage.
Kraft paper or newspaper
Trace frame outlines to create templates for testing placement before nailing.
Pencil
Mark hanging hardware positions and center points on the wall.
Level (bubble or digital)
Ensure individual frames and the overall arrangement hang straight.
Hammer and picture hooks
Secure frames to the wall at marked positions.
Drill and wall anchors
Hang heavier frames securely in drywall or masonry where a simple nail won't hold.
Before hanging anything, confirm what your walls are made of. Drywall, plaster, and masonry each require different fasteners. Our guide on matching the right fastener to the job covers this clearly for beginners.
Step-by-Step: From Layout to Final Hang
Follow these steps in order. Each one builds on the last, and resisting the urge to jump ahead — especially to the drilling — is the single habit that separates a polished gallery wall from a frustrating afternoon.
Collect and Edit Your Pieces
Gather everything you're considering — frames, mirrors, small shelves, sculptural objects. Lay them all on the floor in one place. Now look for a unifying thread: a consistent frame color, a shared subject matter, a single color palette in the artwork, or even just a repeated material like wood or metal. You don't need everything to match, but one connecting element prevents the wall from feeling chaotic.
Edit ruthlessly. A gallery wall with 8 well-chosen pieces almost always looks better than one with 14 pieces that don't quite belong together.
Arrange the Layout on the Floor
Clear a floor space roughly the same size as your intended wall area. Arrange your pieces there, starting with the largest item and building outward. Try to balance visual weight — don't cluster all your large or dark pieces on one side.
Take a photo of any arrangement you like. This becomes your reference as you move to the wall.
Create Paper Templates
Trace each frame onto kraft paper or newspaper and cut out the shapes. On the back of each template, mark the exact location of the hanging hardware — hold the real frame up and press the hook point through the paper to transfer the mark precisely.
Label each template with the frame name or a quick description so you don't mix them up on the wall.
Tape Templates to the Wall
Using painter's tape, affix your paper templates to the wall in the arrangement you photographed. Stand back — from across the room, not inches away — and assess the composition. Adjust spacing and positioning now. This is the moment to catch problems before they become nail holes.
Check that the overall arrangement sits at the right height. For a grouping, aim for the visual center of the whole arrangement to fall around 57–60 inches from the floor, which is the conventional eye-level standard for artwork in the US.
Mark and Nail Through the Templates
Once you're satisfied with the placement, use a pencil to mark through each hardware point on the templates. Remove the template and place your nail or hook at the marked spot. Use a level as you work across the arrangement to catch any drift.
For heavier frames — generally anything over 10–15 lbs — use an appropriate wall anchor rather than a bare nail. Refer to the fastener type recommended for your wall material.
Hang and Adjust
Hang each piece and step back frequently rather than waiting until everything is up. Minor adjustments — a frame nudged a half-inch left, one swapped with another — are far easier to make piece by piece. Once everything is hung, use a level one final time to confirm alignment across the whole arrangement.
For ongoing décor guidance as you style the rest of your home, the room-by-room décor starter checklist is a practical next step.
Start Simpler Than You Think You Need To
If you do end up with unwanted holes during the process, don't worry — patching drywall is straightforward with the right materials.
Troubleshooting Common Missteps
Even with good planning, a few issues come up regularly for first-timers. Here's how to handle them without starting over.
- Frames feel too spread out: Aim for 2–3 inches of space between pieces as a starting point. Larger gaps make a collection feel like individual artworks rather than a composed group.
- The arrangement looks lopsided: Step back and squint. Visual weight isn't just about size — a dark-framed small print can feel as heavy as a larger light-colored piece. Redistribute by swapping rather than removing.
- Artwork is hanging too high: This is one of the most common proportion errors in home décor. Our article on proportion mistakes beginners make explains why this happens and how to fix it.
- The wall feels cluttered: Remove one or two pieces and see if the arrangement breathes better. More is not always more.
Don't Assume All Walls Handle Nails the Same Way
The content on this site is for informational purposes only and is not a substitute for professional advice. Always consult a qualified professional for guidance specific to your situation.