
Patching a Drywall Hole: From a Nail Pop to a Fist-Sized Gap

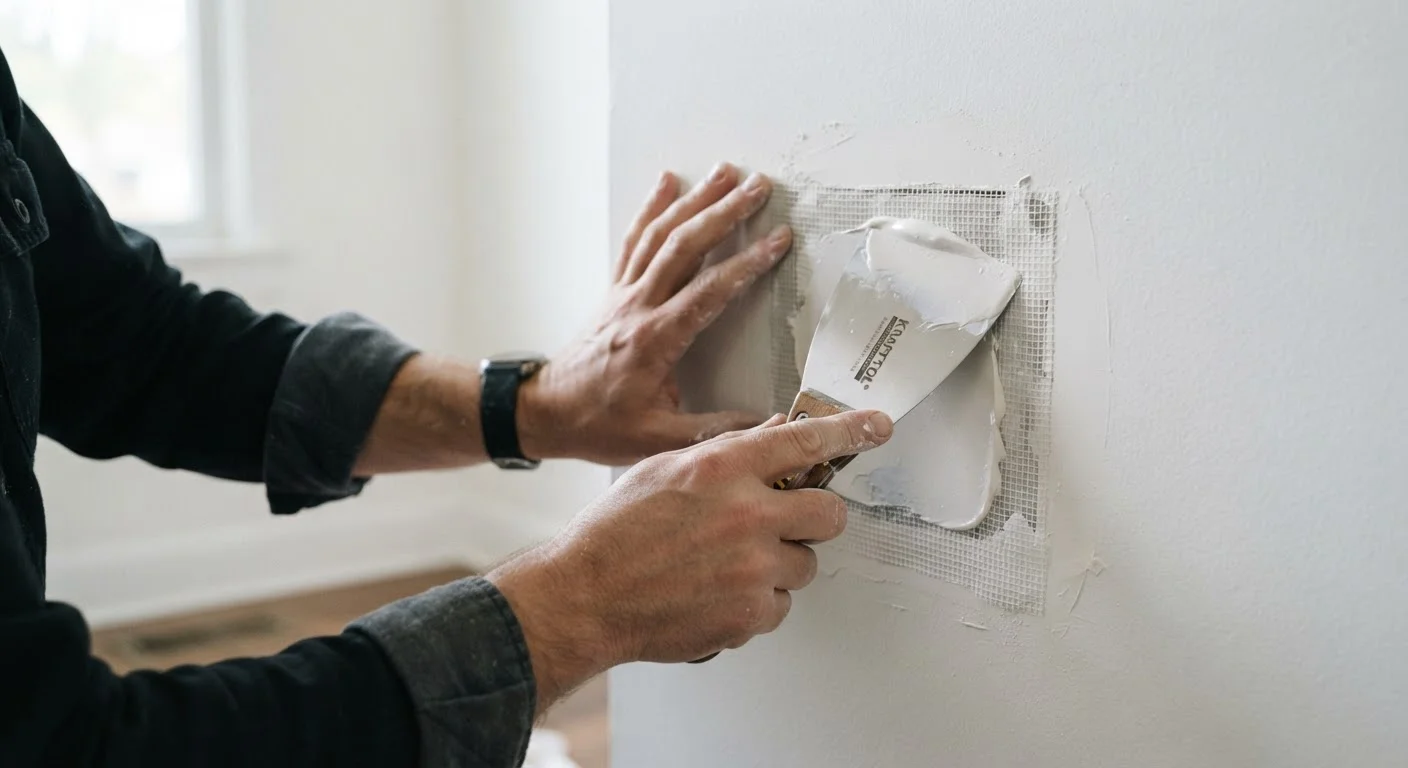
Photo: TotemBuzz.com | Your Lifestyle Companion editorial
Key Takeaways
- Hole size determines which repair method and materials you need before you start.
- Most repairs require at least two thin coats of joint compound, dried fully between applications.
- Feathering the compound edges is the key technique for an invisible, smooth finish.
- Sanding between coats and after the final coat prevents ridges and uneven texture.
- Priming the patched area before painting ensures the finish coat blends seamlessly.
Why Drywall Repairs Look Harder Than They Are
Drywall — sometimes called wallboard or gypsum board — is the standard interior wall surface in most US homes built after the 1950s. It's durable, but it dents, pops, and tears more easily than plaster. The good news: the same material that makes it susceptible to damage also makes it forgiving to repair. Joint compound (sometimes called mud) is pliable, sandable, and inexpensive, and it hides a multitude of mistakes when applied in thin layers.
The biggest beginner error isn't technique — it's impatience. Rushing the drying time or trying to fill a hole in one thick coat almost always results in cracking, shrinking, or a visible bump. Understanding why each step exists will help you resist shortcuts.
Before you gather your tools, it also pays to think about what caused the damage. Nail pops (fasteners pushing through the drywall surface) are a natural result of lumber shrinking as a house settles — they're cosmetic and straightforward to fix. Holes from doorknobs, furniture, or accidents are purely physical. If a hole has water staining around it, address the moisture source before patching; compound over an active leak will simply fail again. For choosing the right fastener when you rehang pictures or shelves, see our guide to anchors and fixings.
What you will need
Tools and Materials You'll Need
The supplies for a drywall repair are inexpensive and available at any home improvement or hardware store. The list varies slightly by hole size, but the core items are the same across most repairs.
Putty knife or taping knife (4–6 inch)
Applies and smooths joint compound for nail pops and small holes.
Sandpaper (120-grit and 220-grit)
Smooths dried compound between coats and after the final coat.
Self-adhesive mesh drywall patch
Provides a backing surface for repairing holes up to about 4–5 inches in diameter.
Drywall saw or jab saw
Cuts a clean, square opening for California patch or backer-board repairs.
Drywall backer boards or scrap wood
Provides structural support behind a patch for holes larger than 5 inches.
Joint compound (pre-mixed)
Fills, smooths, and finishes the patched area.
Primer
Seals the repaired area before painting to prevent blotching and flashing.
Check for Pipes and Wiring First
Step-by-Step Repair Instructions
Work through the following steps in order. Read through all steps before you begin so you can plan your drying windows — this is a project best started in the morning.
Assess the hole and choose your method
Measure the hole and select the appropriate repair approach:
- Nail pop or dimple (under ½ inch): Re-set the fastener with a hammer or screw, then fill directly with joint compound.
- Small hole (½ inch to 4–5 inches): Use a self-adhesive mesh patch as a backing.
- Larger hole (over 5 inches): Cut the damaged area into a clean rectangle, attach backer boards inside the wall cavity, and cut a matching drywall piece to fit.
Prepare the damaged area
Remove any loose drywall paper, crumbled edges, or protruding debris around the hole. For nail pops, drive the popped fastener back in slightly below the surface with a screw — do not pull it out, as the paper facing is still useful. For larger holes, use a drywall saw to trim the edges into a clean, straight-sided shape. A rectangle or square is easiest to patch neatly.
Install backing or patch material
For nail pops and small holes: peel and stick a self-adhesive mesh patch directly over the hole, centred so the mesh extends at least 1 inch past the edge on all sides.
For larger holes: slide two pieces of scrap wood or purpose-made backer boards horizontally into the wall cavity on either side of the opening. Secure them by driving drywall screws through the existing drywall into each backer. Cut a piece of new drywall to fit snugly into the opening and screw it to the backers.
Apply the first coat of joint compound
Load your taping knife with pre-mixed joint compound and spread a thin, even first coat over the patch or filled area. Work from the center outward using smooth, overlapping strokes. Do not try to fill deeply in one pass — a thin coat is far more likely to dry without cracking. For mesh patches, press the compound firmly into the mesh weave so no air pockets remain beneath it. Allow to dry completely (typically 24 hours).
Sand and apply a second coat
Once the first coat is fully dry, lightly sand with 120-grit sandpaper to knock down ridges and high spots. Wipe away dust with a slightly damp cloth. Apply a second coat of joint compound, feathering the edges wider than the first coat — extending at least 6 inches beyond the patch boundary. Let dry fully.
Final sand and prime
After the second coat dries, sand the area with 220-grit sandpaper until it feels smooth and flush with the surrounding wall. Run your hand across the repair — you should feel no ridge or step. Apply a coat of drywall primer to the repaired area and allow it to dry fully before painting. Priming is essential; unprimed compound absorbs paint differently than the surrounding wall, causing a visible dull patch called flashing.
Paint to match
Apply at least two coats of your matching wall paint over the primed repair, letting each coat dry fully. Use the same sheen level as the surrounding wall — a matte patch in a satin room will always stand out. If you no longer have the original paint, take a small chip to a paint store for color matching before you begin.
Feathering Is Your Best Friend
Don't Rush the Drying Time
Getting a Truly Invisible Finish
The difference between a repair that's noticeable and one that disappears comes down to three habits: thin coats, wide feathering, and thorough sanding. Professionals often apply three or even four coats on larger patches, making each one slightly wider than the last. This graduated blending means there's no single edge for light to catch.
Lighting angle reveals imperfections that overhead lighting hides — always inspect your dried compound under a raking light (a bare bulb or flashlight held nearly parallel to the wall surface) before you prime. Any ridge or hollow will cast a distinct shadow. Mark those spots with a pencil and apply a skim coat — a very thin pass of compound spread with a 10-inch or 12-inch knife — to level them out.
Finally, match your sheen. Paint stores can tint primer to approximate your wall color, which helps with coverage on the repair area and reduces the number of topcoats needed to achieve a consistent finish.
The content on this site is for informational purposes only and is not a substitute for professional advice. Always consult a qualified professional for guidance specific to your situation.