
The Hidden Damage Water Causes — and the Signs It's Already Happening

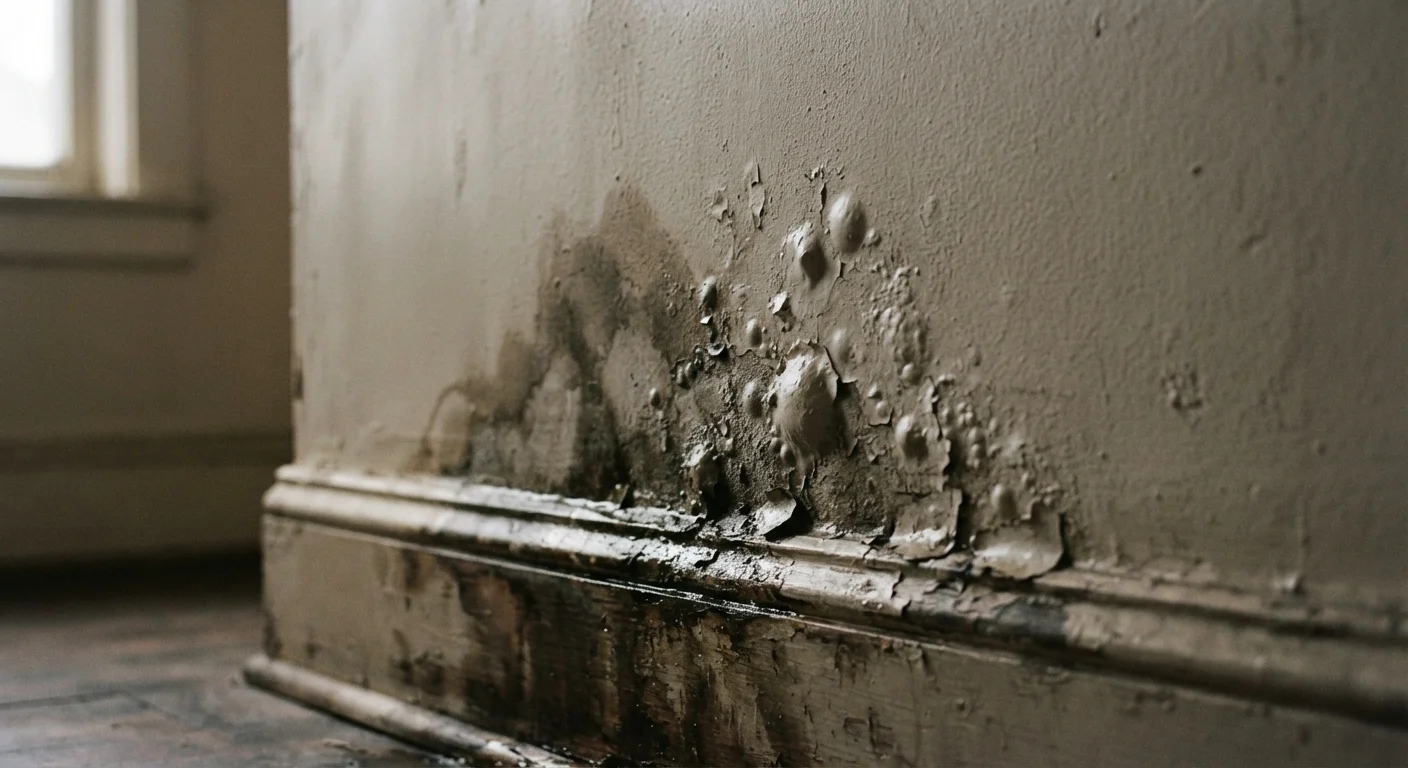
Photo: TotemBuzz.com | Your Lifestyle Companion editorial
Key Takeaways
- Water damage inside walls and under floors can go undetected for months before visible signs appear.
- Musty odors, soft spots, and peeling paint are early indicators that warrant immediate investigation.
- Catching water intrusion early dramatically reduces repair costs and prevents mold growth.
- Some water damage signs require a licensed contractor or inspector to assess safely.
- A methodical room-by-room walkthrough is the most reliable way to catch hidden moisture problems.
Why Hidden Water Damage Is So Costly
Water is patient. It seeps into wall cavities, wicks along floor joists, and pools beneath tile grout for weeks — sometimes months — before you notice anything is wrong. By the time a stain appears on your ceiling or a floorboard starts to flex underfoot, the underlying damage may already be significant.
For homeowners and renters alike, understanding the early warning signs of water intrusion is one of the most practical things you can do to protect your home's value and your household's health. Mold can begin forming on damp materials within 24 to 48 hours under the right conditions, and structural wood can weaken well before it visibly rots.
This checklist walks you through a systematic audit of your home — room by room, surface by surface — so you can spot problems before they escalate. If you're evaluating a property you don't yet own, our guide on what first-time buyers miss during inspections covers additional blind spots worth knowing about.
Don't Mistake Cosmetic for Structural
What You'll Need for Your Inspection
You don't need specialized equipment to conduct a meaningful water damage audit, though a few simple tools will make the process more thorough. Gather the following before you begin your walkthrough.
Flashlight or headlamp
Illuminate dark corners, under-sink cabinets, attic spaces, and crawl areas where natural light doesn't reach.
Moisture meter
Measure moisture levels in wood and drywall to detect hidden dampness not yet visible on the surface.
Small flathead screwdriver
Probe wood baseboards and window sills gently to test for soft rot — soft wood indicates prolonged moisture exposure.
Notepad or phone
Record the location and description of any concerns found during your walkthrough so you can reference them later or share with a professional.
Coin
Tap on tile floors to listen for hollow sounds that indicate failed adhesive beneath — a simple and reliable field test.
Work methodically — start at the top of the home (attic or roof line) and move downward to basement or crawl space level. Water always travels with gravity, so damage you find in one level may originate from a source above it. This top-down logic is also central to reading a room before you renovate, where knowing the origin of a stain determines whether you're dealing with a surface fix or something far more serious.
Your Water Damage Audit Checklist
Work through each group below during your walkthrough. Mark items as you go — a simple yes/no/needs-attention notation is enough. Any item flagged as a concern should be followed up with a licensed plumber, contractor, or building inspector, depending on the scope.
Ceilings and Upper Walls
Walls and Baseboards
Bathrooms and Kitchens
Floors and Subfloors
Basement and Crawl Space
Visible Mold Requires Professional Assessment
After the Audit: What to Do Next
If your walkthrough turns up one or two minor concerns — a small hairline crack near a window, slightly soft caulk in the bathroom — you may be able to address those with basic DIY repairs after consulting reliable how-to guidance. However, if you've found multiple signs of moisture intrusion, visible mold, or structural softness in floors or walls, bring in a licensed professional before attempting any repairs yourself.
Attempting to seal over active water intrusion without finding the source is one of the most common — and costly — mistakes homeowners make. It traps moisture inside the wall cavity and accelerates hidden damage. A building inspector or restoration specialist can use moisture meters and thermal imaging to locate the source accurately.
Keep in mind that significant water damage repair often involves costs that can surprise homeowners. If you haven't yet accounted for unexpected repair scenarios in your home budget, our overview of the hidden costs of buying a home offers useful financial context.
This article is for general informational purposes only. For electrical, structural, gas-adjacent, or mold-related concerns, always consult a licensed professional. Verify any permit or inspection requirements with your local authority before beginning repairs.
The content on this site is for informational purposes only and is not a substitute for professional advice. Always consult a qualified professional for guidance specific to your situation.