
Caulk vs. Grout: When to Use Which Around Tiles and Fixtures

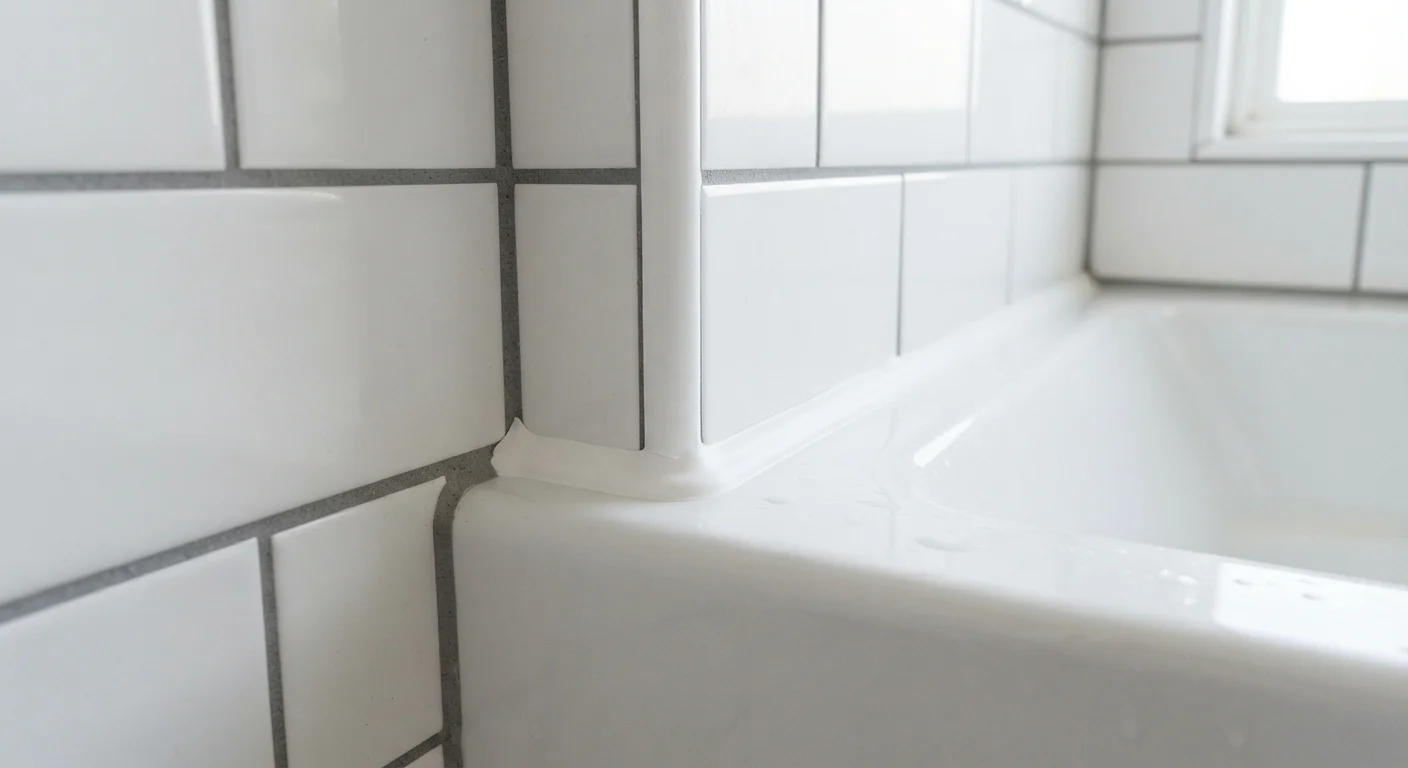
Photo: TotemBuzz.com | Your Lifestyle Companion editorial
Key Takeaways
- Grout belongs between tiles; caulk belongs wherever two different surfaces or planes meet.
- Caulk flexes with movement, making it essential at tub ledges, corners, and fixture bases.
- Using grout in a flexible joint causes cracking; using caulk between tiles leads to staining and failure.
- Silicone caulk offers superior water resistance in wet areas; latex caulk is easier to clean up.
- Corners — even tile-to-tile corners — should always be caulked, not grouted.
Why Getting This Wrong Causes Real Problems
Walk into any hardware store and you'll find caulk and grout sitting near each other, both available in white, both used around tiles. It's easy to assume they're interchangeable — but using the wrong one in the wrong place is one of the most common causes of leaks, cracked joints, and mold growth in bathrooms and kitchens.
Grout is a cement-based filler designed to lock into place permanently. It resists compression but has very little flexibility. Caulk — typically silicone or acrylic latex — stays slightly pliable after curing. That small distinction dictates where each product must go.
Think of it this way: wherever two surfaces can move independently of each other — even a tiny amount from temperature changes, water absorption, or building settling — you need something that won't crack under that stress. That's caulk's job. Wherever tiles sit flat on a stable surface in parallel rows, grout takes over.
For a deeper dive into working with grout specifically, see our beginner's guide to grouting tiles, which covers timing, mixing, and cleanup in detail.
Head-to-Head: Caulk vs. Grout at a Glance
The table below breaks down the key differences so you can make a fast, confident decision before starting any tile or fixture project.
| Criterion | Caulk | Grout |
|---|---|---|
| Composition | Silicone or acrylic latex | Cement-based (with sand or unsanded) |
| Flexibility after curing | Remains slightly flexible | Rigid and hard |
| Where it goes | Joints between different surfaces or planes | Joints between tiles on the same surface |
| Water resistance | Excellent (especially silicone) | Moderate; requires sealing in wet areas |
| Corners and transitions | Yes — essential here | No — will crack |
| Between field tiles | No — will stain and look wrong | Yes — correct choice |
| Ease of DIY application | Moderate; requires steady hand | Moderate; timing is critical |
One thing the table can't fully capture: color matching. Both grout and caulk come in a wide range of colors. When caulking a tiled corner or tub surround, look for a caulk shade that matches your grout — many manufacturers offer coordinated lines for exactly this reason.
Where Each One Goes: A Room-by-Room Breakdown
Bathroom Shower and Tub Surrounds
This is where the rules matter most. Use grout between all field tiles on the walls and floor. Use caulk at every inside corner (where the floor meets the wall, and where two walls meet), along the top of the tub deck where it meets the tile, and around the base of the showerhead escutcheon plate.
Kitchen Backsplash
Grout fills all the joints between tiles. Caulk goes where the backsplash meets the countertop and where it meets any window trim or cabinet edge — essentially, any transition between materials.
Floor Tile Installations
Use grout between tiles throughout. If the floor meets a wall or transitions to another flooring type, a bead of caulk at that junction allows each surface to expand and contract without forcing cracks into the tile field. This is especially important over radiant heating systems, which cycle through significant temperature changes.
The Corner Rule Every Tiler Should Know
Getting familiar with how different materials bond also helps in other repairs. Our article on matching the right adhesive or fastener to the job is a useful companion read.
Choosing the Right Type of Caulk
Not all caulk is the same, and the two types you'll most commonly encounter for tile work each have trade-offs:
- Silicone caulk is highly water-resistant and adheres well to non-porous surfaces like glass, ceramic, and porcelain. It's the stronger choice for wet areas like showers. The downside: it's harder to tool smoothly and requires mineral spirits for cleanup.
- Acrylic latex caulk (with silicone added) is easier to apply, cleans up with water, and accepts paint. It works well in lower-moisture areas like backsplashes and around baseboards, but may not hold up as long in a daily-use shower.
Whatever type you choose, make sure the label says mold- and mildew-resistant for any bathroom or kitchen application. This isn't just a marketing claim — it refers to antimicrobial agents added to the formula.
~24 hrs
Typical silicone caulk cure time before water exposure
Most silicone caulk manufacturers specify a 24-hour cure period before the joint is exposed to water, though full cure can take up to 7 days.
30 min
Typical grout working window before it sets
Many standard cement grouts begin to firm up within 30 minutes of application, making cleanup timing critical for beginners.
Applying Each One Correctly
For grout: Clean and dry joints are essential — any residue or moisture prevents proper bonding. Mix to a peanut-butter consistency, work it in with a float held at a 45-degree angle, and wipe excess within the window the manufacturer specifies. Grout dries faster than most beginners expect. Our first-timer's grouting walkthrough covers every stage of that process.
For caulk: Cut the tube tip at a shallow angle — a smaller opening gives you more control. Run a steady, continuous bead and smooth it immediately with a dampened finger or caulk tool. Remove painter's tape (if used) while the caulk is still wet for a clean edge. Allow full cure time before exposing the joint to water; silicone typically needs 24 hours, though check the product instructions.
One last tip: if you're replacing old caulk, remove it completely with a caulk remover tool or utility knife before reapplying. Caulking over old caulk traps moisture and leads to faster failure.
The content on this site is for informational purposes only and is not a substitute for professional advice. Always consult a qualified professional for guidance specific to your situation.