
Grouting Tiles for the First Time: What the Instructions Leave Out

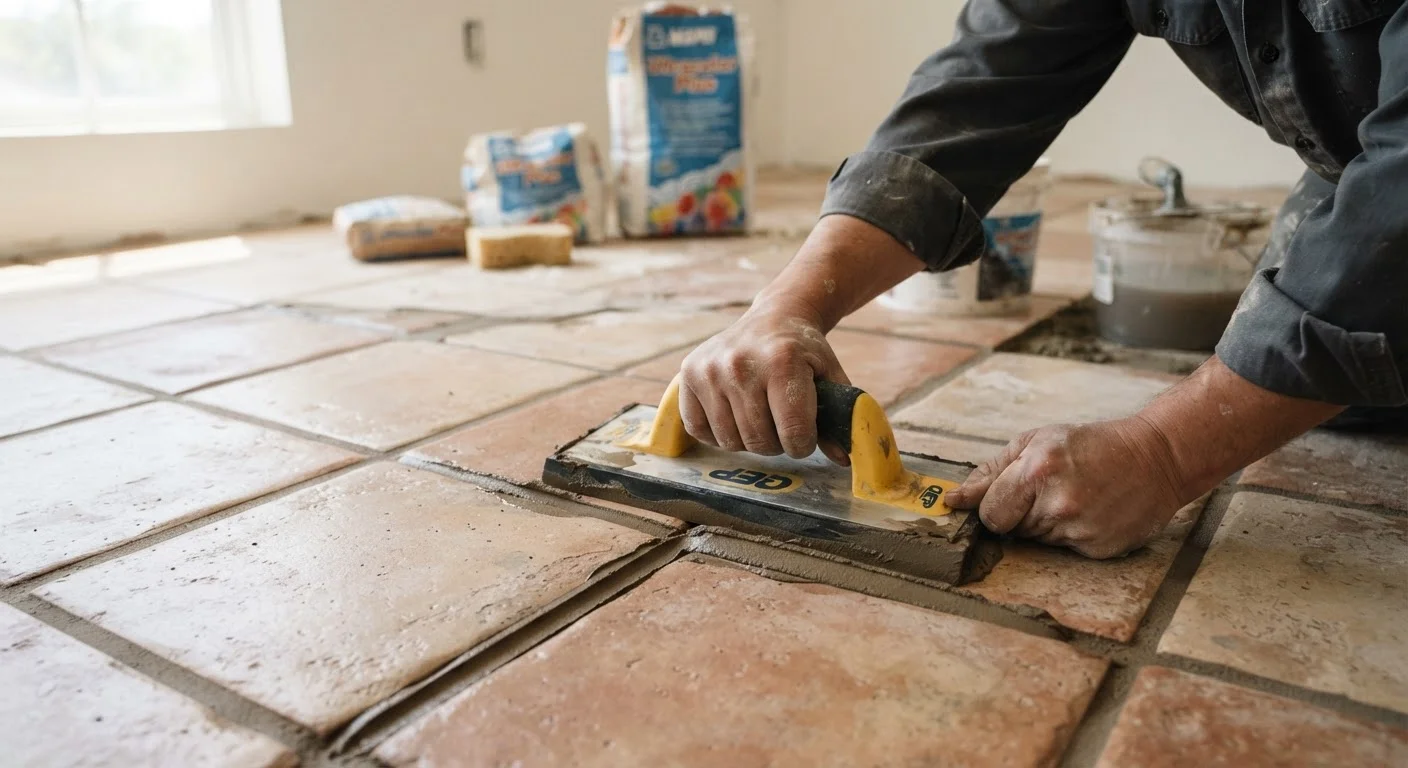
Photo: TotemBuzz.com | Your Lifestyle Companion editorial
Key Takeaways
- Grout has a short working window — mix only small batches and work quickly.
- Unsanded grout is for narrow joints under 1/8 inch; sanded grout fills wider gaps more effectively.
- Grout haze must be wiped away before it fully hardens, typically within 30–60 minutes.
- Sealing grout after it fully cures protects it from staining and moisture damage.
- Corners and edges where tile meets a different surface typically need caulk, not grout.
What Beginners Usually Discover Too Late
Package instructions for tile grout are written to be legally complete, not practically helpful. They tell you mix ratios and drying times — they don't tell you that grout starts skimming over in the bucket before you've finished your first section, or that a too-wet sponge will hollow out your joints as fast as you filled them.
The result for many first-timers is patchy joints, streaky haze baked onto tile faces, or grout that cracks within weeks. None of these outcomes is inevitable. They're almost always caused by a handful of correctable missteps that this guide addresses directly.
If you're still weighing whether tile is even the right material for your project, our comparison of tile vs. laminate flooring covers the trade-offs before you commit.
What you will need
Rubber grout float
Used to press grout firmly and evenly into tile joints at a diagonal angle.
Bucket and margin trowel
For mixing powdered grout to the right consistency before application.
Large sponge and two buckets of clean water
Essential for wiping away grout haze from tile surfaces without pulling grout from joints.
Grout sealer and foam applicator
Applied after full cure to protect joints from moisture and staining.
Grout saw or oscillating tool
Used to remove old or cracked grout from existing joints before regrouting.
Painter's tape
Protects edges, fixtures, and trim from grout smears during application.
Step-by-Step: Grouting Your Tiles
Work through these steps in order. Each one builds on the last, and the timing between steps matters more than most beginner guides acknowledge.
Grout Sets Faster Than You Think
Choose the right grout type for your joint width
Grout comes in two main forms for standard tile work: unsanded grout for joints narrower than 1/8 inch, and sanded grout for joints 1/8 inch or wider. Using the wrong type causes cracking. For wet areas like showers, look for grout labeled as moisture- or stain-resistant. Epoxy grout is also available and highly durable, but it sets very fast and is harder for first-timers to work with — cement-based grout is a more forgiving starting point.
Mix grout to a peanut butter consistency
Add the grout powder to clean water in a bucket — not water to powder — following the manufacturer's ratio. Stir thoroughly with a margin trowel until the mixture is smooth and lump-free, roughly the consistency of thick peanut butter. Let it slake (rest) for about 5–10 minutes, then stir once more. This rest period allows the powder to fully absorb the water and improves workability. The mixture should hold its shape without being crumbly or soupy.
Apply grout diagonally across the tiles
Scoop a modest amount of grout onto the tile surface. Hold the rubber float at a roughly 45-degree angle to the tile and sweep it diagonally across the joints, pressing firmly to pack grout fully into each gap. Working at a diagonal — not parallel — to the joint lines prevents the float edge from dragging grout back out. Cover one manageable section at a time (roughly 2–3 square feet) rather than spreading grout over a large area all at once.
Remove excess grout and tackle haze immediately
Once a section is grouted, use a damp (not soaking wet) sponge to wipe diagonally across the tiles in a circular motion, rinsing and wringing the sponge frequently in clean water. The goal is to clean grout off the tile surface while leaving the joints intact and slightly recessed. Change your rinse water often — cloudy water just smears haze back onto the tile. Do not wait until you've grouted the whole floor before cleaning; haze left more than 30–60 minutes becomes significantly harder to remove.
Allow full cure before applying sealer
After grouting is complete, keep foot traffic and moisture off the area for at least 24 hours, and ideally 48–72 hours for cement-based grout. Once fully cured, apply a penetrating grout sealer using a foam applicator or small brush, following the sealer product's directions. Wipe away any sealer that sits on tile faces rather than soaking in. Sealing is especially important in kitchens and bathrooms, where grout is regularly exposed to water and staining agents.
Test Grout Color on a Scrap Piece First
Troubleshooting: What Went Wrong and How to Fix It
Even careful first-timers run into problems. Here are the most common issues and what actually helps:
- Grout cracking in the joints: Usually caused by the substrate moving slightly before the grout cured, by mixing grout too dry, or by applying it in joints that needed caulk instead. Remove cracked sections with a grout saw and refill.
- Grout haze that won't wipe off: If standard sponge cleaning didn't work and the haze has hardened, a diluted solution of white vinegar and water can help on ceramic or porcelain tile — but test in a hidden spot first, and never use acid-based cleaners on natural stone.
- Uneven joint depth: Pressing the float too lightly leaves grout sitting high on the surface rather than flush with the tile edge. Re-wet the area slightly and re-float before the grout sets fully.
Don't Skip the Cure Time Before Sealing
The content on this site is for informational purposes only and is not a substitute for professional advice. Always consult a qualified professional for guidance specific to your situation.