
Home Improvement

Why Paint Jobs Fail — and How to Prevent It Before You Open the Can

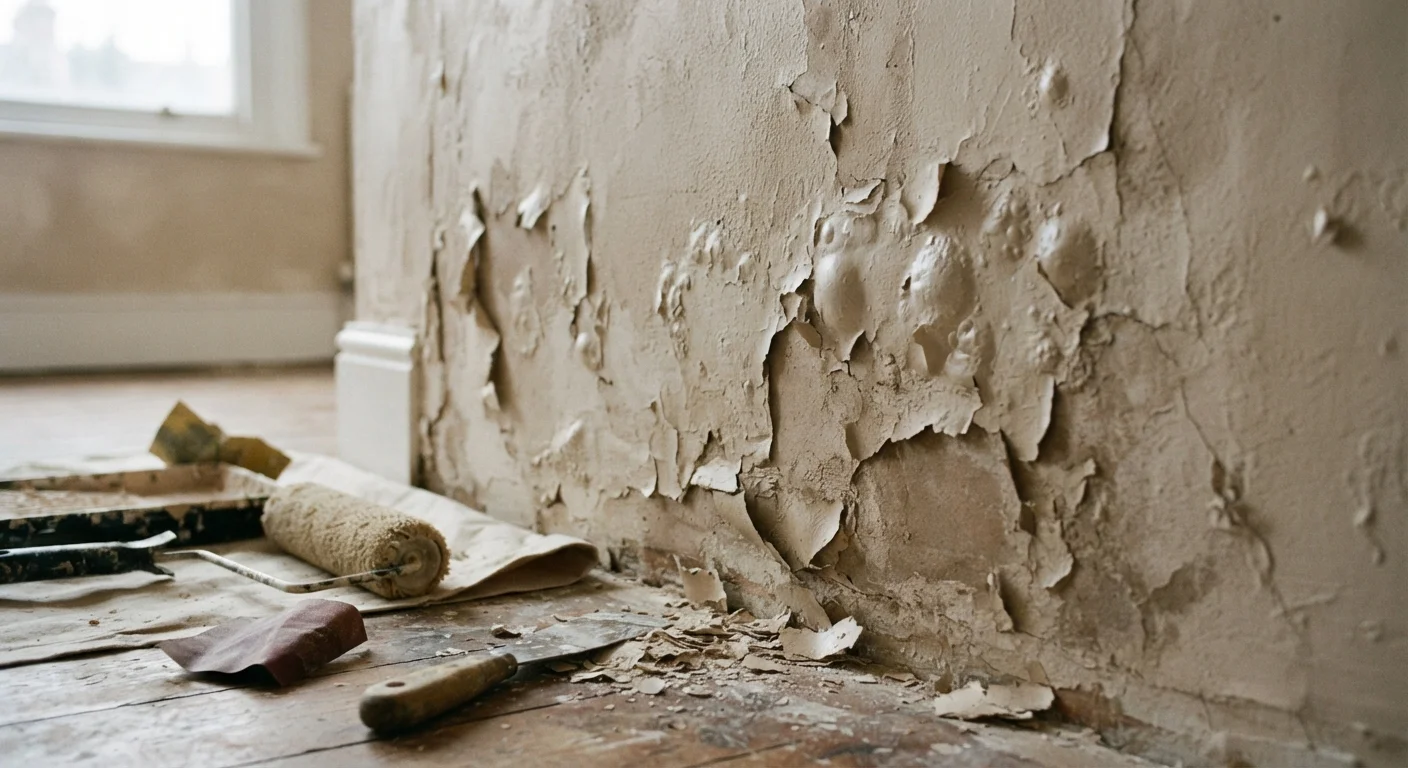
Why Paint Jobs Fail — and How to Prevent It Before You Open the Can

Photo: TotemBuzz.com | Your Lifestyle Companion editorial

Peeling, bubbling, and uneven colour are avoidable. Discover the prep and priming mistakes that lead to poor paint results.

Key Takeaways

  • Most paint failures stem from inadequate surface preparation, not low-quality paint.
  • Skipping primer is one of the most common and costly mistakes first-time painters make.
  • Humidity, temperature, and dry time all significantly affect how paint adheres and cures.
  • Cleaning and sanding the surface before painting dramatically reduces the risk of peeling.
  • Choosing the wrong finish for a room's conditions can cause premature wear and damage.

The Real Reason Paint Peels, Bubbles, and Streaks

A fresh coat of paint should transform a room — but for many first-timers, it ends in frustration: streaks that won't blend, edges that peel within weeks, or a colour that looks nothing like the sample chip. The encouraging news is that most of these problems are entirely preventable.

Paint failure is rarely about the paint. It's almost always about what happened — or didn't happen — before the can was even opened. Surface prep, priming, environmental conditions, and application technique all play a larger role than brand or price ever could.

Understanding where things go wrong puts you in control. The mistakes below are the most common ones beginners make, along with clear guidance on how to avoid each one.

1

Skipping surface cleaning before painting.

Why it happens: Walls often look clean to the naked eye, so beginners assume a quick visual check is enough.
How to avoid: Wash the surface with a mild detergent or a TSP (trisodium phosphate) substitute solution and let it dry completely before painting. Grease, dust, and residue prevent paint from bonding properly, and no amount of extra coats will compensate for a contaminated surface.
2

Not using primer, or using the wrong type.

Why it happens: Primer adds a step and a cost, so it's tempting to skip — especially when paint labels claim self-priming formulas cover everything.
How to avoid: Use a dedicated primer on new drywall, heavily patched areas, glossy surfaces, or when making a dramatic colour change. Self-priming paints work well for light refreshes on already-painted surfaces in good condition, but they are not a universal substitute.
3

Painting over unrepaired cracks, holes, or rough texture.

Why it happens: Beginners often hope paint will hide surface imperfections — and sometimes it does, briefly, before the flaw reappears.
How to avoid: Fill holes and cracks with spackling compound or joint compound, allow full drying time, and sand the area smooth before priming. Paint reveals texture rather than hiding it, so the smoother the surface, the cleaner the finish.
4

Painting in unfavourable humidity or temperature conditions.

Why it happens: Most people schedule painting around convenience rather than weather or indoor climate.
How to avoid: Check the paint manufacturer's recommended temperature and humidity ranges — typically between 50°F and 85°F with humidity below 85%. Painting in damp or very cold conditions causes paint to dry unevenly, trap moisture, and peel or bubble shortly after application.
5

Applying a second coat before the first is fully dry.

Why it happens: Impatience is understandable, especially on a weekend project, and the surface can feel dry to the touch long before it's ready.
How to avoid: Follow the recoat time listed on the paint label rather than going by feel. "Dry to touch" and "ready to recoat" are different thresholds. Applying a second coat too soon can pull up the first, create a streaky or gummy texture, and extend your total project time significantly.
6

Skipping sanding between coats on trim or cabinetry.

Why it happens: Sanding a surface you've just painted feels counterintuitive, so most beginners skip it entirely.
How to avoid: For trim, doors, and furniture, a light sand with fine-grit sandpaper (around 220-grit) between coats removes dust nibs and brush marks, resulting in a noticeably smoother final surface. Wipe away dust with a tack cloth before applying the next coat.

Setting Yourself Up for a Lasting Result

Good painting is mostly good preparation. Once you understand the logic behind each prep step — why surfaces need to be clean, why primer matters, why rushing dry time backfires — the process stops feeling like guesswork and starts feeling methodical.

Don't Paint Over Mould or Water Stains

If you notice dark spots, mould, or water-stained areas on a wall, painting directly over them will not solve the underlying problem. Mould can continue to grow beneath fresh paint, and water stains will bleed through standard paint within weeks. Address any moisture source first, treat mould with an appropriate cleaner, and use a stain-blocking primer before repainting. If mould covers a large area, consult a professional before proceeding.

It's also worth thinking ahead about finish selection. The sheen of a paint affects not just appearance but durability. A flat or matte finish that looks beautiful in a bedroom can deteriorate quickly in a high-humidity bathroom. If you're unsure which finish suits your space, this guide to paint finishes breaks down when to use matte, eggshell, satin, and gloss.

If you've encountered advice like "primer is optional on already-painted walls" or "any caulk will seal a gap before painting," you may want to review common home improvement myths before your next project. Getting accurate information upfront is one of the simplest ways to avoid rework.

80%

Of paint failures attributed to poor surface prep

Industry painting professionals commonly cite inadequate surface preparation as the cause of the vast majority of premature paint failures.

2–4 hrs

Typical recoat wait time for latex paint

Most latex paint manufacturers recommend waiting at least two to four hours between coats, with longer times advised in high-humidity conditions.

With the right prep routine in place, a painted surface can stay looking fresh for years — without bubbling, flaking, or uneven patches. The investment of a few extra hours before you pick up a brush is far less painful than starting over from scratch.

Home & Garden Editorial Team

TotemBuzz.com | Your Lifestyle Companion

Home & Garden Editorial Team is the collective byline for our editorial team and contributor network. Articles published under this byline or an editorial pen name are researched, written, and reviewed according to our editorial standards for clarity, consistency, and independence before publication.

Home ImprovementHome DécorGardening Basics
View author profile

The content on this site is for informational purposes only and is not a substitute for professional advice. Always consult a qualified professional for guidance specific to your situation.